

 English (EUR)
 Français (EUR)
 Deutsch (EUR)
 Español (EUR)
 Česky (CZK)
 Polski (PLN)
 Slovensky (EUR)
 български език (EUR)
 Magyar (HUF)
 Română (RON)
 Italiano (EUR)
DeLonghi ECAM Series upper brew piston replacement

Service Technician at Brewive • 2026-05-11 • 3 min read
If your DeLonghi ECAM no longer dispenses coffee but hot water still flows normally, the upper brew piston (mechanical valve) is likely clogged or seized. This guide shows how to remove and replace it.

What you need
Difficulty: Moderate | Estimated time: 15–30 minutes
Tools
- TR10 Torx Security Screwdriver
- Phillips #1 Screwdriver
- T20 Torx Screwdriver Bit
- 4 mm Allen Key
- 2 mm Allen Key
Step-by-step repair guide
Step 1

⚠️ Caution: Unplug the power cord!
Remove all detachable parts — water tank, drip tray, grounds container, and brew unit.
Turn the machine so the rear panel faces you.
Remove the five Torx T20 security screws.
💡 Note: These are security-type screws with a centre pin, so your Torx bit must have a corresponding hole.
Step 2


Lift off the rear panel.
The following components are now visible:
Grinder
Pump
Flowmeter
Step 3


Slide the side panel rearward by approximately 1.5 cm.
Lift the panel away from the chassis.
The following components are now exposed:
Thermoblock (heater)
Expansion chamber
Gear drive
Steam valve
Step 4


Depending on the model, the steam tap or hot-water spout must be removed; there are slight differences between variants.
Pull out the plastic retaining clip on the milk frother / steam nozzle.
Pull the steam nozzle straight out toward you.
Step 5


Carefully pull off the steam-valve toggle. Use only a plastic pry tool to avoid scratching the bezel.
Step 6


If you haven't already done so, detach the right-hand cover on the water-tank side as well.
Remove the four Phillips screws securing the top cover.
Lift the top cover slightly. It may resist due to clips.
💡 Note: Do not remove the top cover completely — on some models, cables to the cup warmer are still attached underneath.
If a cup warmer is present, unscrew the SW7 nut that secures the two green-yellow earth cables and disconnect them. The two brown cables on the opposite side can remain connected if you simply rest the cover on top of the machine.
Set the top cover aside, or remove it entirely if all cables are disconnected.
Step 7


The front cover must also be removed.
Unscrew the two screws on the left side.
Unscrew the single screw on the right side.
Gently pull the front cover downward. It may be somewhat stuck in its retaining clips.
Step 8

Remove the two screws from the control-panel enclosure.
Carefully tilt the control box to one side.
💡 Note: Do not remove the box entirely — it is still connected by a ribbon cable. You can disconnect the cable and set the box aside, or loosely fasten it on one side with a single screw.
Step 9
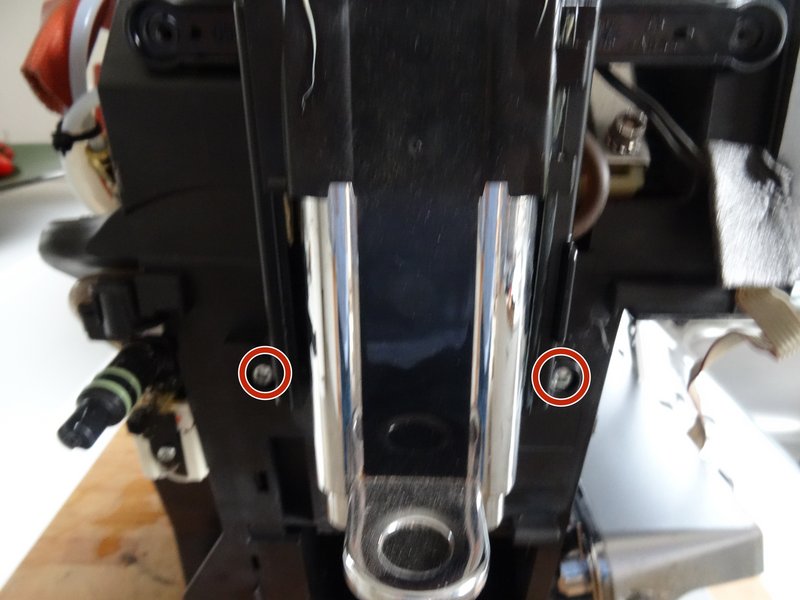

Remove the two screws securing the coffee dispensing spout.
Lift off the coffee spout.
Pull the silicone hose off the rear of the spout and set the spout aside.
Step 10


The upper piston mounting bracket is held by two screws on the left side. Depending on the model, these screws may be hidden behind other components.
The first picture shows a model equipped with a separate steam thermoblock. Here you must unscrew the steam thermoblock (one short screw on top, one further down), then slide it out a few centimetres to expose the bracket screws.
The second picture shows a model with a manual steam tap. Here the two screws on the tap must be loosened so the steam tap can be nudged aside.
Once the two bracket screws are accessible, remove them.
Step 11


💡 Note: The upper brew piston has six connections: three pressurised hot-water lines, one non-pressurised waste-water line, a hose leading to the coffee spout, and two wires to the microswitch. All must be disconnected first.
Pull out the retaining clip at the top left and disconnect the pressure line. Note the O-ring gasket — it may remain on the fitting or on the line itself. When reassembling, replace it with a fresh hose gasket if possible.
Pull out the retaining clip in the centre and disconnect the pressure line. Again, note the O-ring gasket and replace it during reassembly if possible.
Pull out the retaining clip at the bottom left and disconnect the pressure line. Check the O-ring gasket and replace it during reassembly if possible.
Step 12

Disconnect the two spade connectors from the microswitch terminals.
Step 13

Remove the black strain-relief sleeve from the centre pressure line.
Step 14

Unscrew the two 4 mm Allen-head bolts.
Lift off the stainless-steel mounting bracket.
Step 15

Thread any obstructing pressure hoses through the openings on the left side.
Detach any remaining silicone hose connections.
The upper piston support plate is now free. It sits very snugly and can be tricky to extract — be patient and work carefully. Take care not to damage the ribbon cable running to the control panel.
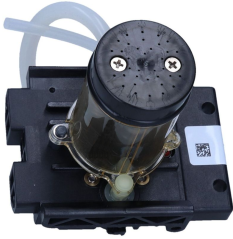
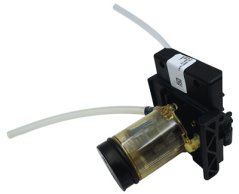
Mechanical valve / piston for De'Longhi ECAM full-automatic coffee machines
Genuine spare part. In stock and ships within 24 hours from Brewive.
SET Hose gasket for DeLonghi full-automatic coffee machines - 10x
Replace this seal whenever you swap the main part — otherwise you'll be doing the repair twice.
DeLonghi Descaler ECODECALK 500ml
We recommend descaling after every part replacement — protects the new component.
Hose 29cm from boiler to mechanical valve for DeLonghi coffee machines
Genuine spare part. In stock and ships within 24 hours from Brewive.
Conclusion
To reassemble your machine, work through the steps above in reverse order. Before powering on, double-check that all pressure-line gaskets are seated properly and that the ribbon cable to the control panel is securely reconnected. If you replaced the mechanical valve / piston, run a short rinse cycle to confirm normal brew-unit operation and coffee flow. Consider performing a descaling cycle as part of your maintenance routine to help prevent future blockages.
Frequently Asked Questions
How do I know if my DeLonghi ECAM upper brew piston needs replacing?
The most common symptom is that no coffee is dispensed, yet the hot-water function works normally. This typically indicates the upper piston — also called the mechanical valve — is clogged or worn. You can find a compatible replacement for your DeLonghi ECAM series at Brewive.
What tools do I need to replace the upper brew piston on my DeLonghi ECAM?
You'll need a Torx T20 security bit with a centre hole (to clear the anti-tamper pin in the security screws), a Phillips #1 screwdriver, 4 mm and 2 mm Allen keys, and a plastic pry tool for safely removing the steam-valve toggle without marring the bezel. Brewive carries the replacement parts and can help ensure you order the correct piston for your specific ECAM model.
Is it safe to do this repair myself, or should I call a technician?
This repair is achievable for a confident DIYer, but always disconnect the power cord before starting and handle internal components with care. The guide walks you through each disassembly step, and Brewive supplies the correct replacement parts to keep the process straightforward.
Will this repair process work for all DeLonghi ECAM models?
The overall procedure applies broadly across the DeLonghi ECAM series, but there are minor differences between models — particularly around removing the steam tap and hot-water spout. Verify your specific model number when ordering the replacement upper brew piston from Brewive to ensure a proper fit.
Where can I get a replacement upper brew piston for my DeLonghi ECAM machine?
You can purchase a compatible replacement upper brew piston from Brewive, which stocks parts specifically for DeLonghi ECAM series machines. Make sure to match the part to your exact model number to guarantee compatibility.
Recommended products7
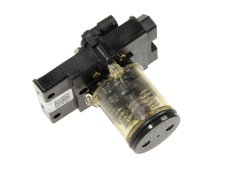
Mechanical valve / Piston for Rivelia
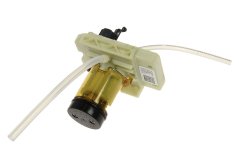
Mechanical valve / Piston for Autentica
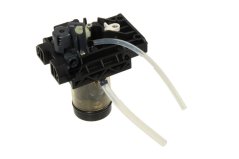
Mechanical valve / Piston for Magnifica S
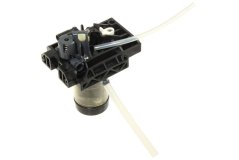
Mechanical valve / Piston for Eletta Explore
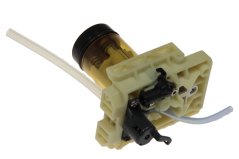
Mechanical valve / Piston for Primadonna S
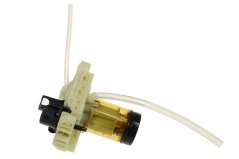
Mechanical valve / Piston for Magnifica S